
Full Factory Wipe in 20 min – AC-LR Rescue Guide
A full factory wipe—button + SSH—breaks UniFi adoption loops, lost creds and bad firmware so your AC-LR reboots clean and flashes the latest build in 20 min.

Subscribe free to get the 1-page UniFi reset checklist plus one new quick-fix every Monday—no spam, unsubscribe anytime.
Download the UniFi AP-AC-LR Cheat-Sheet:
Why a “real” wipe is sometimes the only way out
With UniFi gear there are three classic situations that force you to start from absolute zero:
- Relocation / redeployment – the AP is moving into a brand-new network and must forget every hint of its past life.
- Lost admin credentials – no controller login, no SSH password, no recovery email. You’re locked out.
- Corrupt configuration – the device keeps power-cycling in an adoption loop, clings to a wrong VLAN, or is stuck on a half-flashed firmware.
In theory you can just push the reset pin for ten seconds.
In practice that often doesn’t work, because the old UniFi Controller (or its orphaned inform URL) keeps whispering “come back home” to the AP. The radio re-adopts itself before you even have time to refresh the dashboard.
What you will achieve in this guide
- Perform a true factory reset on a UniFi AP-AC-LR (works the same on older models).
- Re-flash the latest firmware via SSH—so the unit boots clean and current.
- Break endless adoption loops even when the original password or controller is long gone.
Real-world backdrop: my test case
Two legacy AP-AC-LRs, inherited with a commercial building.
No UniFi account, no site backup, just blinking blue LEDs.
A straight hardware reset failed—the units dove right back into the adoption spiral and vanished from discovery.
So I wrote down each MAC address, plugged the APs into my home lab, and forced them through the full wipe-and-flash routine you’re about to learn.
The steps that follow are battle-tested on those very radios; they’ll work for you too—whether you’re rescuing equipment from an old employer, buying second-hand, or simply cleaning house before a network rebuild.
Hardware vs. SSH Factory-Reset
| Method | Requirements | Typical Use-Case | Pros | Cons |
|---|---|---|---|---|
| Hardware-Reset | Physical access, paper clip / SIM tool | Device is on your desk or ceiling mount | No credentials needed; 100 % clean slate | Impossible if button is broken or AP is remote |
SSH Reset (set-default) |
SSH enabled, admin credentials (ubnt/ubnt by default) |
AP is mounted in a remote location; button damaged | Can be triggered from anywhere in the network | Requires valid SSH login; fails if firmware is corrupt |
Hardware Reset — Step by Step
- Locate the RESET pin-hole next to the LAN port.
- Insert a SIM tool / paper clip and hold for ≥ 15 s.
- Ignore the first two LED colour changes – keep holding.
- Release only when the LED cycles through white → blue → off three times.
- The AP is now fully reset. After rebooting it you will be able to access it via SSH and the standard login credentials. “Pending Adoption”.
Re-flashing Firmware via SSH — Step by Step
This is the next step after making sure you have reset the login credentials via a hardware reset.
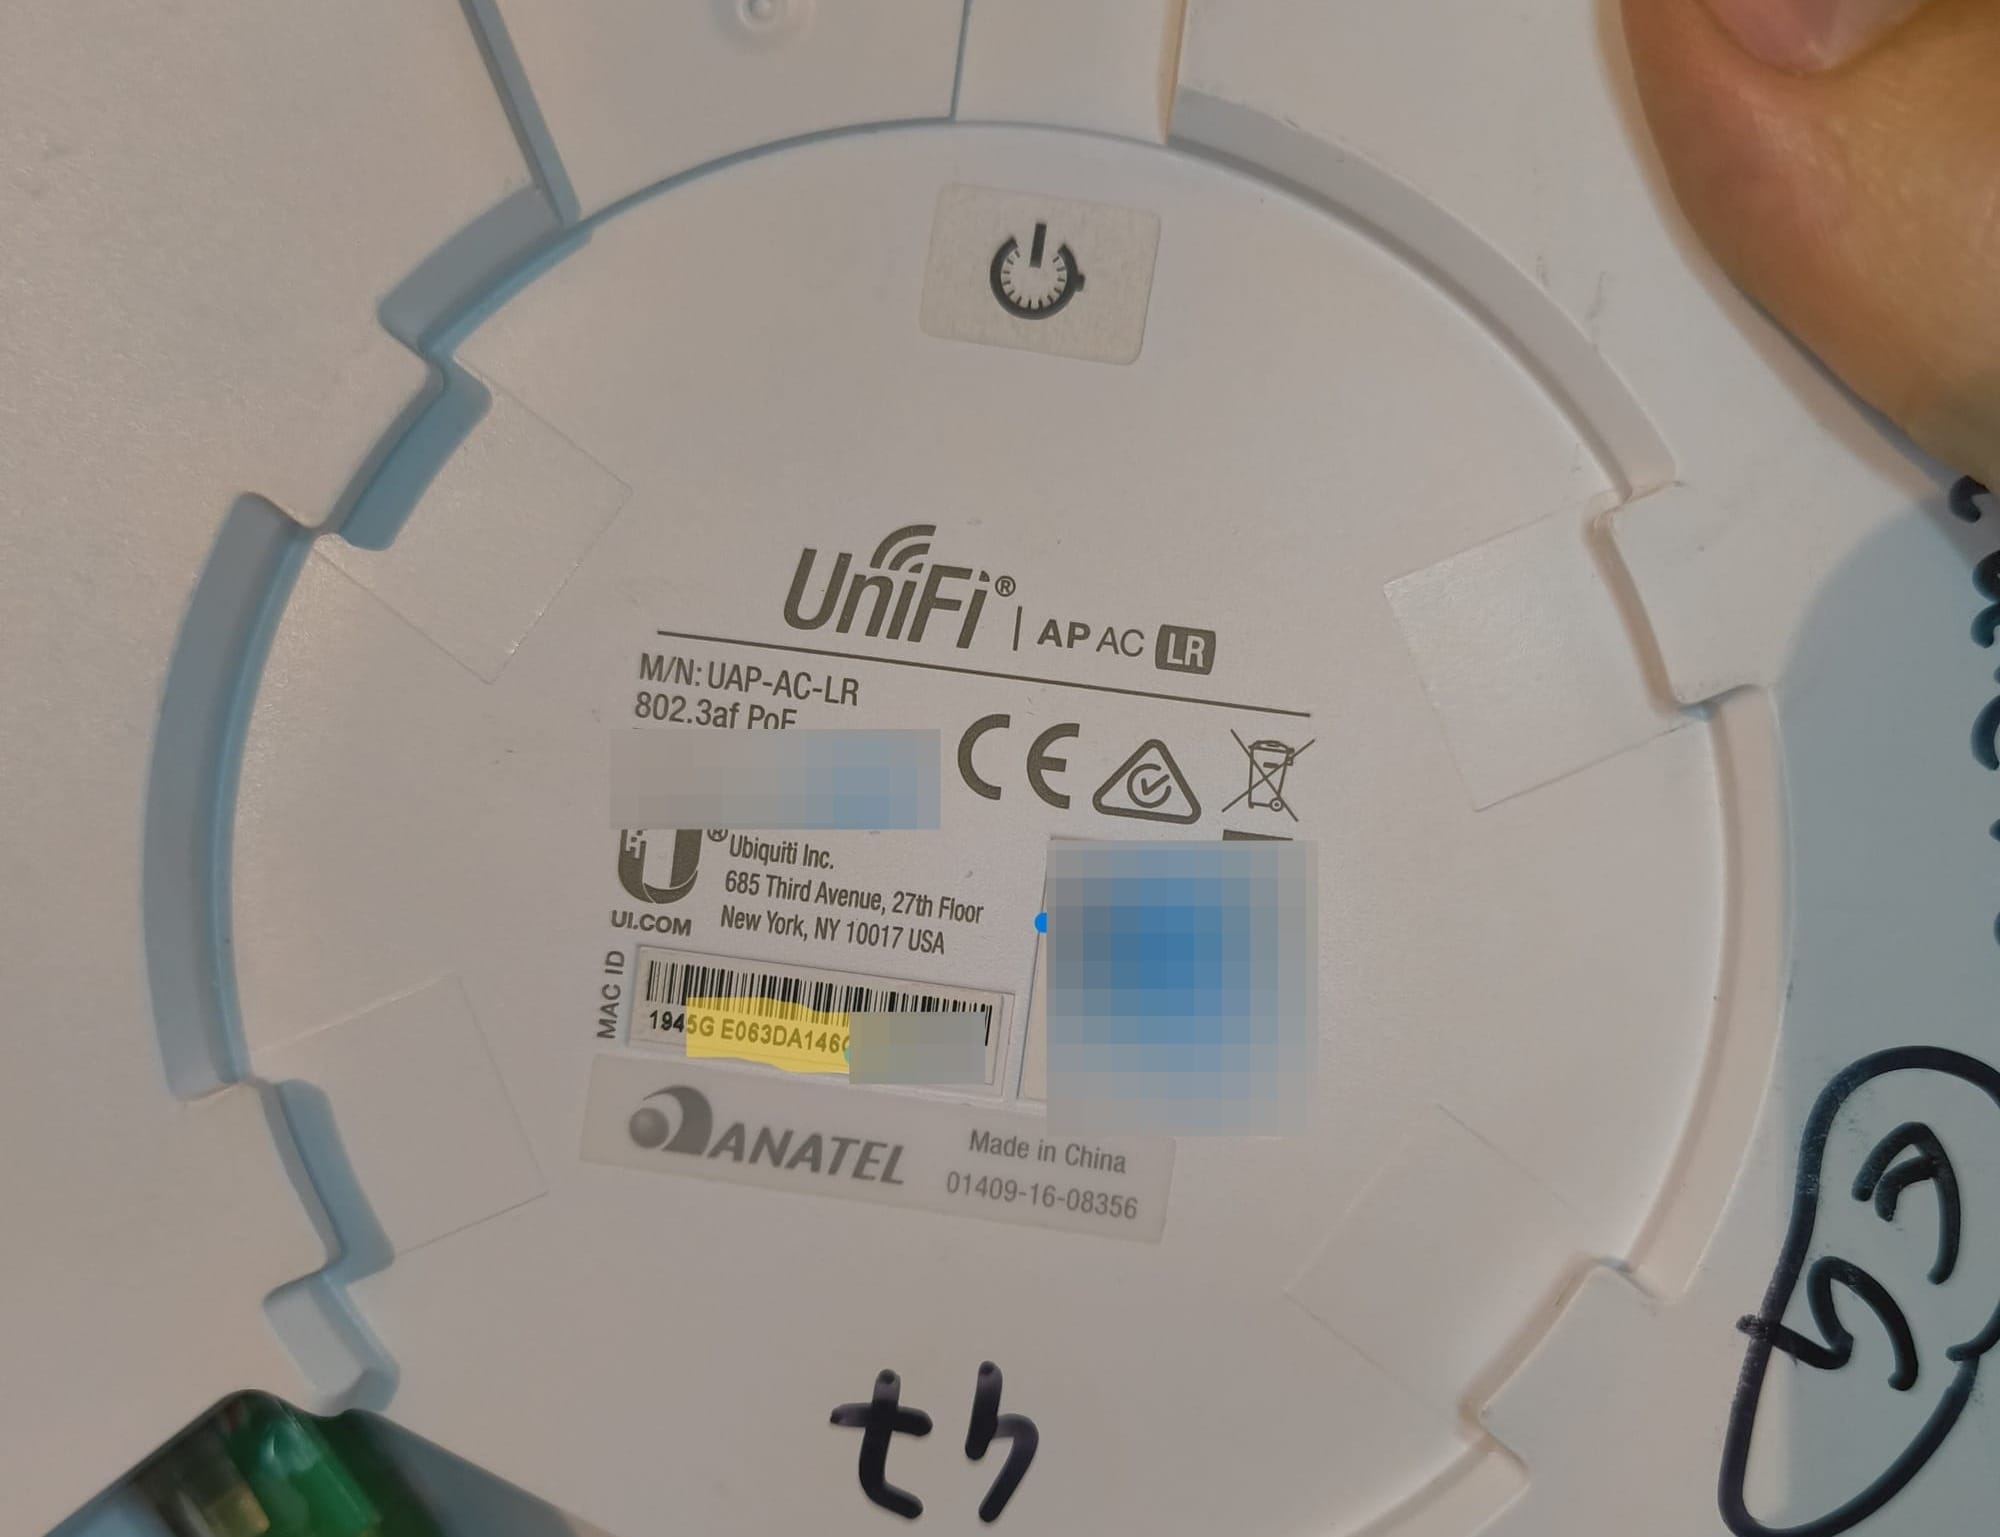
1 Identify the AP’s MAC address
First, grab the MAC address so you can spot your UniFi AP on the LAN.
You could read the router’s DHCP leases, but an IP scanner is faster.
Here we’ll use Advanced IP Scanner.
2 Locate the MAC in Advanced IP Scanner
Run a quick sweep and sort by MAC to find your device fast.
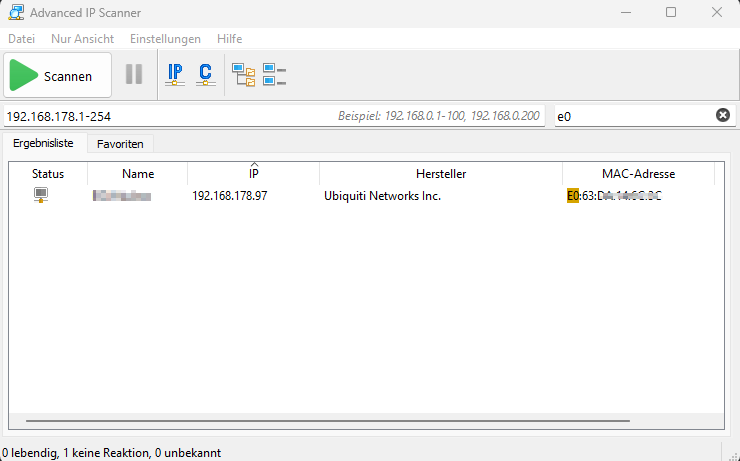
Pro tip: Click the MAC column header to sort—saves scrolling.
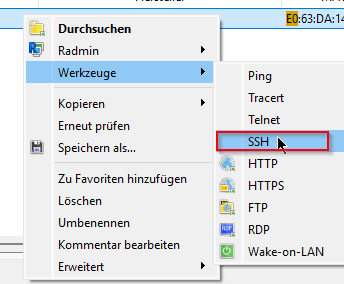
3 Jump straight into SSH
Right-click the entry → SSH.
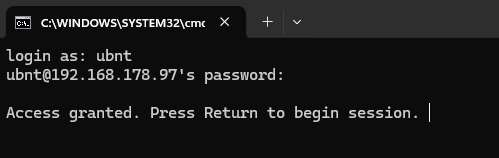
Default creds you should use after the reset:
Username: ubnt
Password: ubnt
A prompt like this means you’re in:
4 Flash the firmware—two paths, one goal
AP has internet
upgrade https://dl.ui.com/.../firmware.bin\n
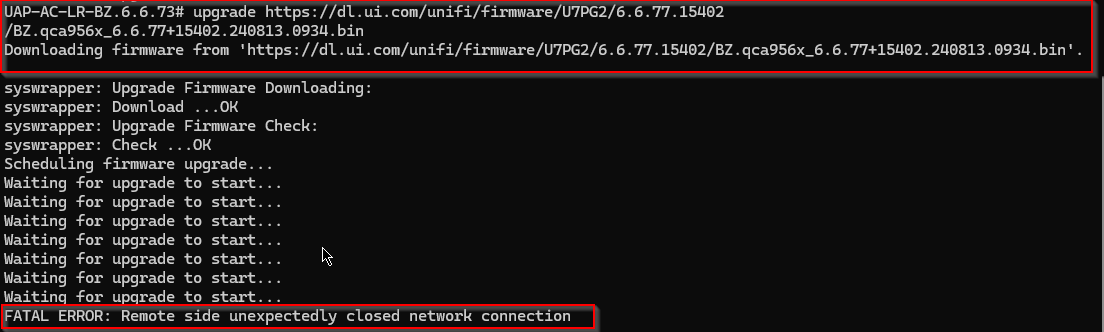
The AP fetches the file itself—minimal human error.
Don't get stressed out after the FATAL ERROR Message. This means your Access Point is now flashing the new firmware.
If you have physical access to it, you will see it blinking blue now.
AP is offline / isolated
- Download the image (e.g. from https://community.ui.com/releases).
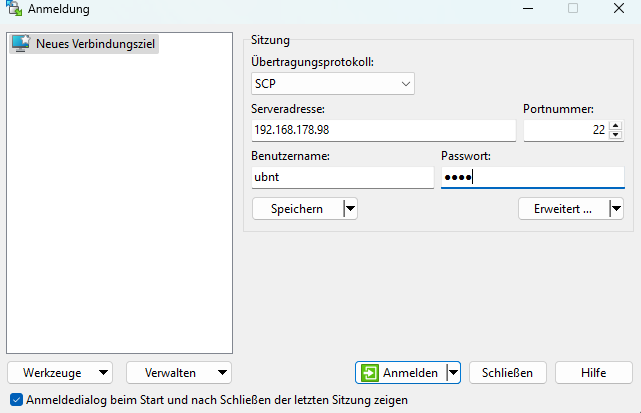
- Download WinSCP (from https://winscp.net/eng/download.php)
- Connect to your Access Point via WinSCP
- Paste the Firmware into \tmp (\tmp is in the root directory, click .. until you only see )

- Move it into \tmp\firmwareupgrade.bin
- Flash the Firmware via syswrapper.sh upgrade2 /tmp/fwupdate.bin

firmware.bin ubnt@
upgrade2 /tmp/fwupdate.bin\n
Safe when the AP can’t reach the web or you need a specific legacy build.
Healthy Scepticism ⚠️
• Use the exact image for your model—wrong build = soft-brick.
• Verify SHA-256/signature before touching production gear.
The command kicks off a reboot (LED pulses white/blue). Plan ≈ 2–3 minutes downtime.
5 One-Minute Post-Flash Check
-
Log in & verify firmware
bash
ssh ubnt@
info # “Version” line must show the new build number
If you get Connection refused, the reboot isn’t finished—wait ~30 s and try again.
Rollback if something looks wrong
-
Hard reset:
-
Hold the reset pin > 10 s until the LED shifts from white to orange.
-
Set your PC to a static IP, e.g. 192.168.1.25/24.
-
Reconnect via SSH:
ssh ubnt@192.168.1.20 # default IP in recovery mode
Default credentials: ubnt / ubnt
Re-flash—copy the image back to /tmp/fwupdate.bin, then:
syswrapper.sh upgrade2
Adopt the AP in UniFi Network
- Open the UniFi Network App or your browser controller.
- The AP appears as “Pending Adoption.”
- Click Adopt—after ~60 s the LED turns solid blue and the AP is live.
Wrapping Up
A true factory wipe plus a fresh firmware flash turns even the most stubborn UniFi AP-AC-LR back into a blank, adoption-ready slate—in under 20 minutes.
If this guide saved you a headache, grab the one-page reset checklist below and join the TroubleFreeTech lab list—so you never miss the next fix.